
Give a child both a pen and a saw, and see what they become.
Our first session with the children
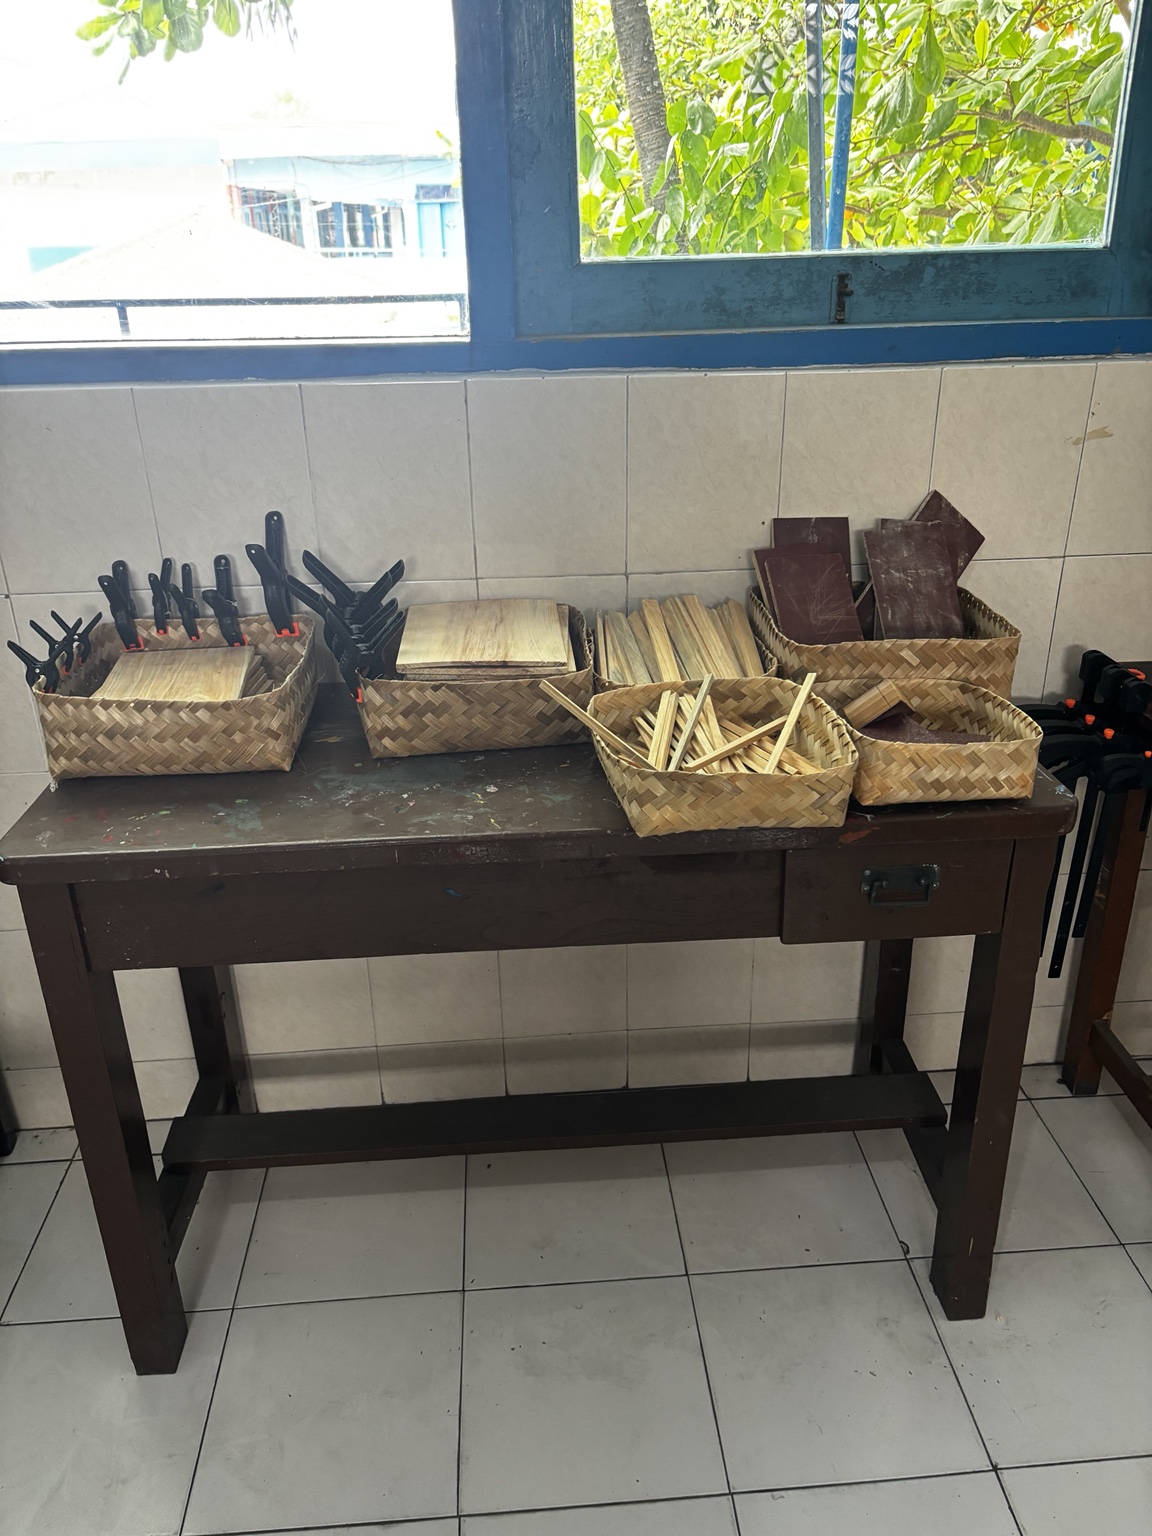
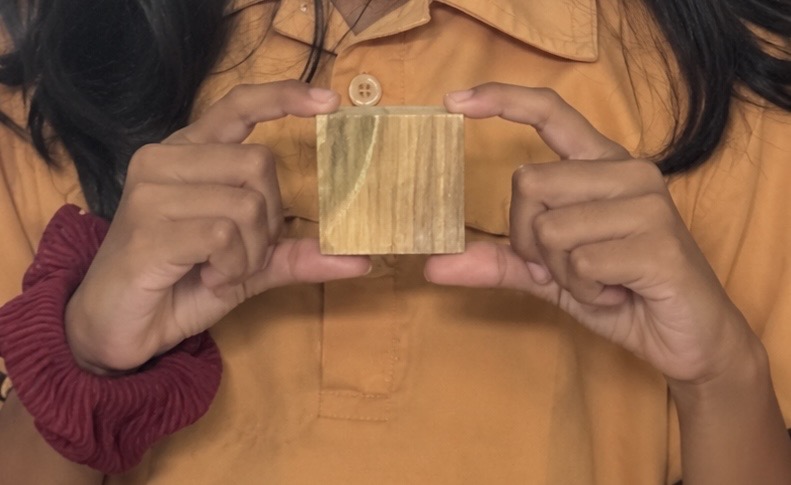
On 9 October, around 40 children from two Year 4 classes tried the workshop in groups of four or five. Each group measured, cut and sanded a piece of wood to make a 5 × 5 cm square.
I watched them taking in new information, exploring, asking questions and experimenting. They noticed problems, adapted what they were doing, worked out solutions and helped one another.
It was amazing to watch. I couldn’t have asked for more from this first session, and from what I saw, the children enjoyed it too.
They were also really excited to keep their little wooden squares. It was only a small, simple piece of wood, but it was valuable to them. To me, that value seemed to lie in what it represented: something they had helped to make with their own hands. Seeing how much it meant to them was a joy.
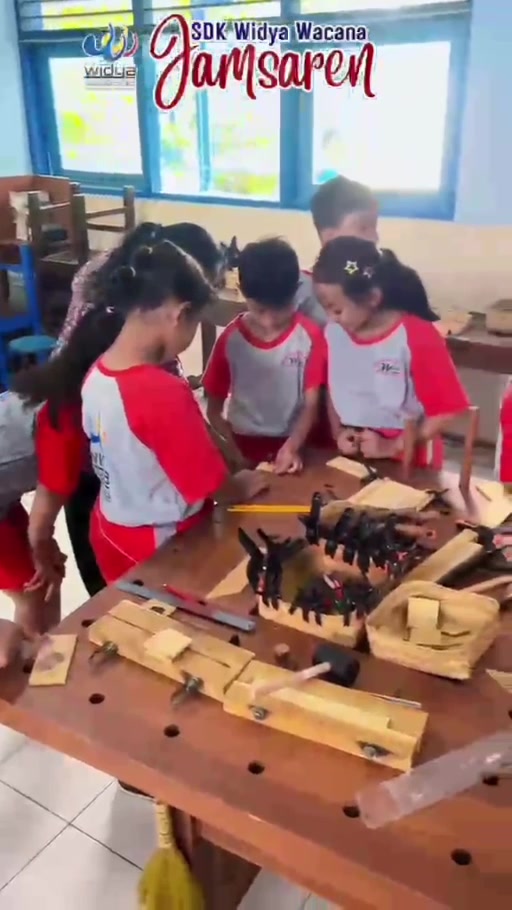
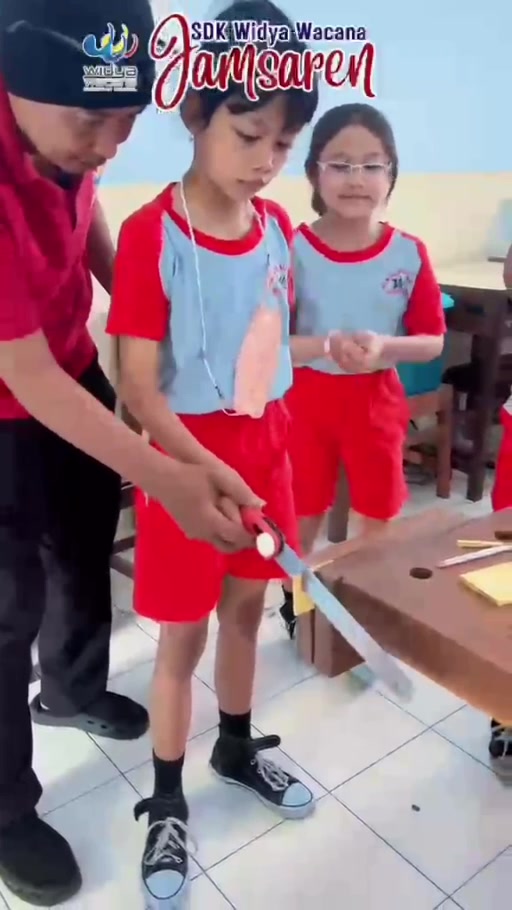
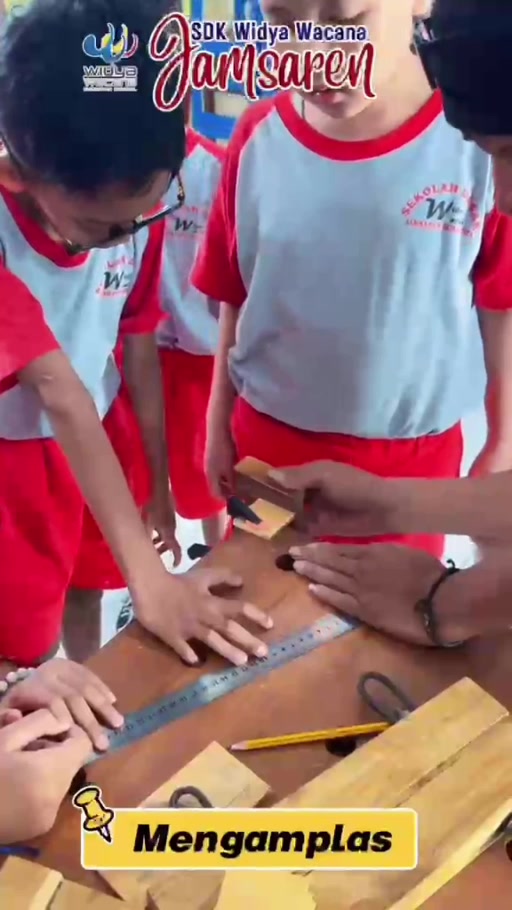
Stills from the school’s video of the first session, 9 October 2026.
The equipment
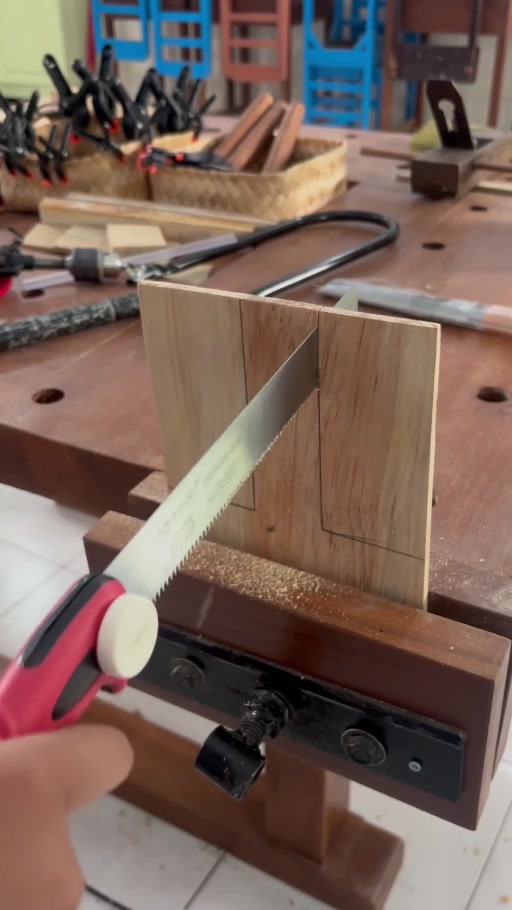
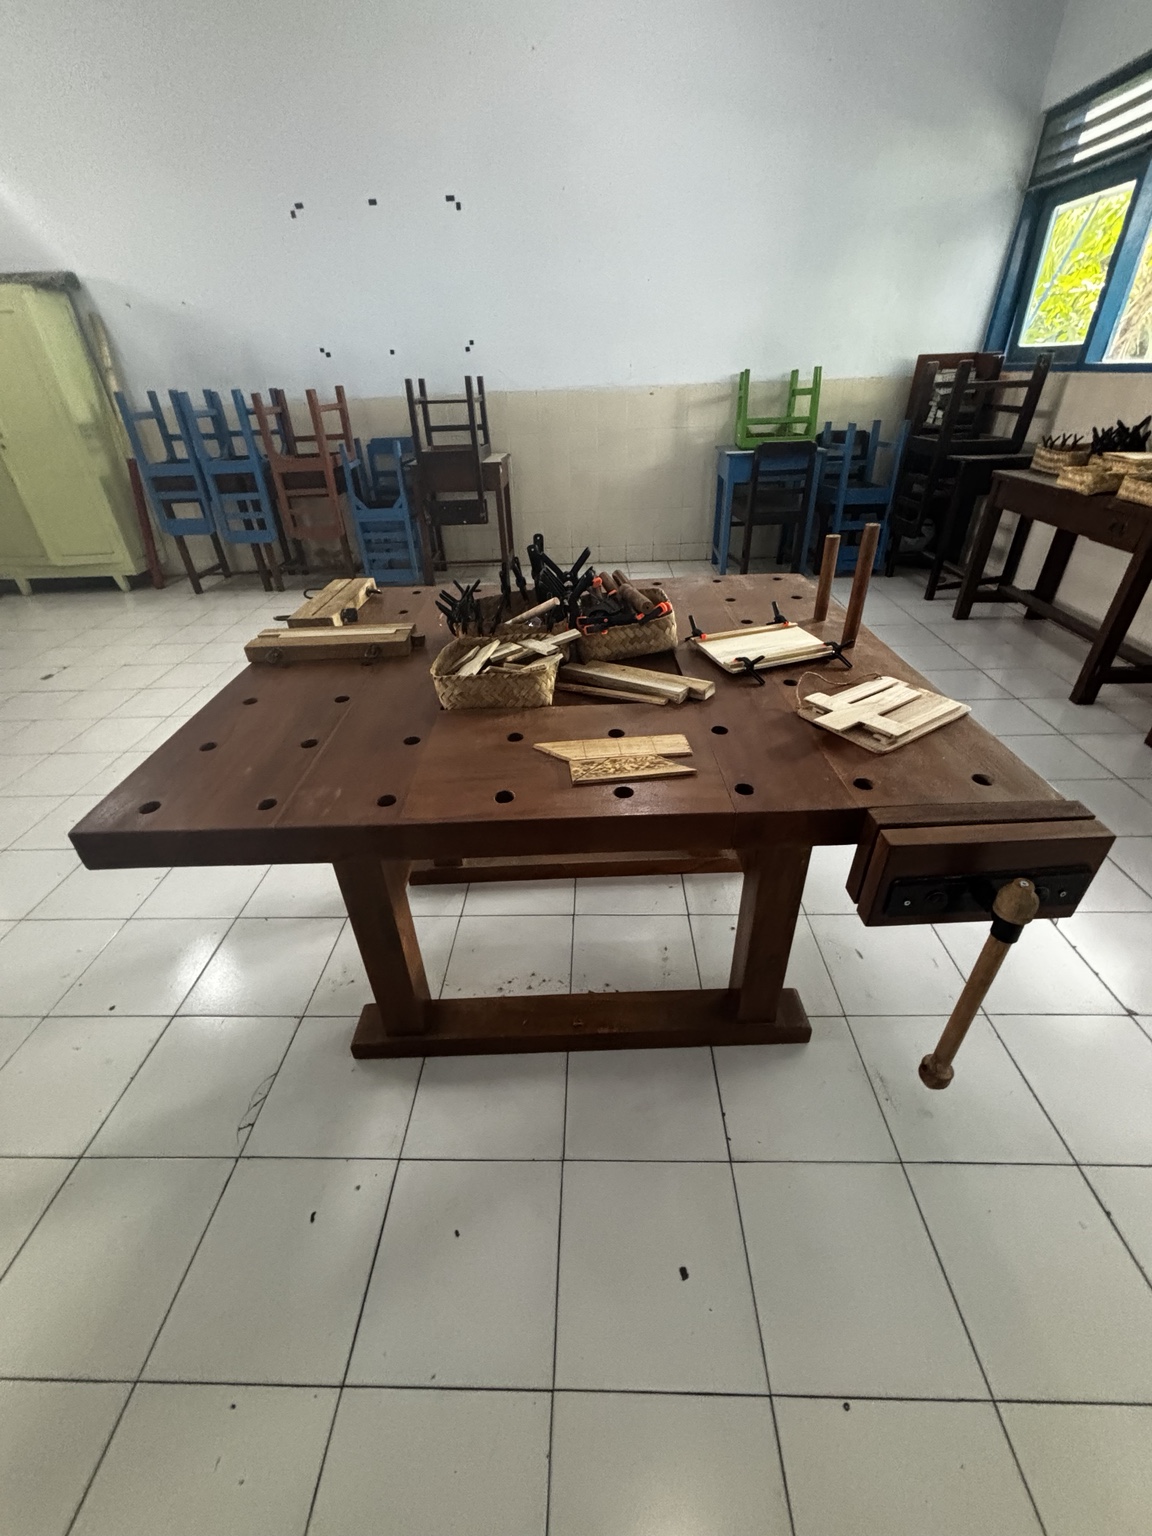
Our workbench and vice system
Designed and tested for children, with wood held securely while they learn to use hand tools.
The approach
Skills grow from doing.
Each task has a visible result. Children can feel when a piece is held firmly, see whether a cut follows the line, and make a deliberate correction.
Start with the material
Look at the wood, choose the working face, and mark a simple shape before cutting.
Work in small steps
Secure the piece, practise starting the cut, then continue slowly with guidance nearby.
Finish what you began
Check the shape, smooth rough edges, and take home something made by hand.
What children practise
More than making an object.
A small woodworking project gives children a reason to think, use their hands carefully, and see the result of their choices. With suitable tools and close guidance, they can practise:
Why hands-on work matters now
AI can turn an idea into an answer or image in seconds. Making something from wood asks a child to test an idea against real material: feel resistance, adjust a grip, learn from a mistake, and see what their own effort changes.
Planning and problem solving
Decide on a shape, work out the order of steps, and adjust when the wood or cut behaves differently than expected.
Hand control
Position and secure a piece, guide a tool along a mark, and feel how much pressure is needed.
Measuring and spatial thinking
Use a ruler, judge distance from an edge, and picture how a flat mark becomes a finished shape.
Focus and patience
Slow down for a difficult starting cut, check progress, and improve the piece one step at a time.
Confidence and creativity
Choose details and decoration, solve small problems, and take pride in something they made themselves.
Cooperation and safe habits
Listen to a demonstration, ask for help, share tools, and respect the space around other makers.
Workshop sequence
From first grip to finished piece.
Select a stage to see what the learner practises and what the adult checks.
Begin with a clear line.
The learner inspects the wood, chooses a simple shape, and marks the intended cut. The first goal is to understand where the tool will go.
- Notice the grain and the edges.
- Use a ruler and pencil to mark the shape.
- Check the line together before cutting.
Projects
Things children can make
Simple, useful objects made through careful hand work.
A small wooden name or message sign.
A wooden sign with strips that hold an interchangeable paper name or message, and a string for hanging.
See the project steps →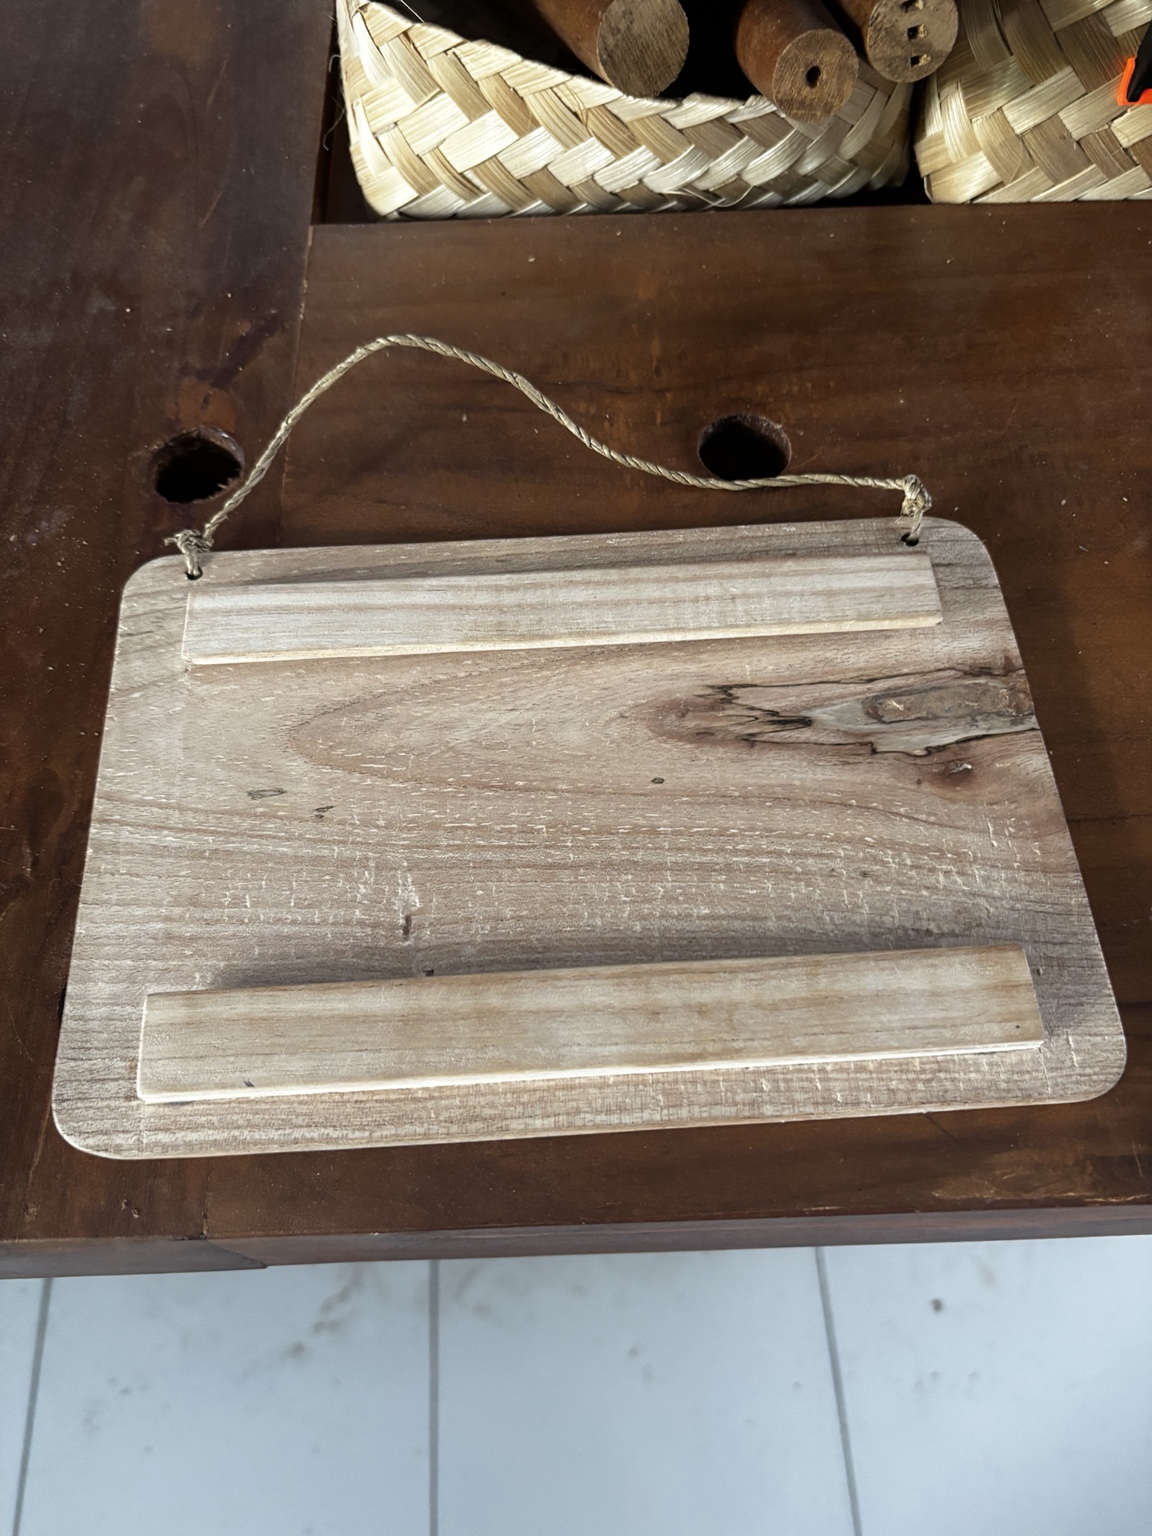
The wooden sign, with hanging string and strips to hold the paper in place.
A small wooden cross.
A small wooden cross, cut from a marked outline and sanded to show the natural grain.
See the project steps →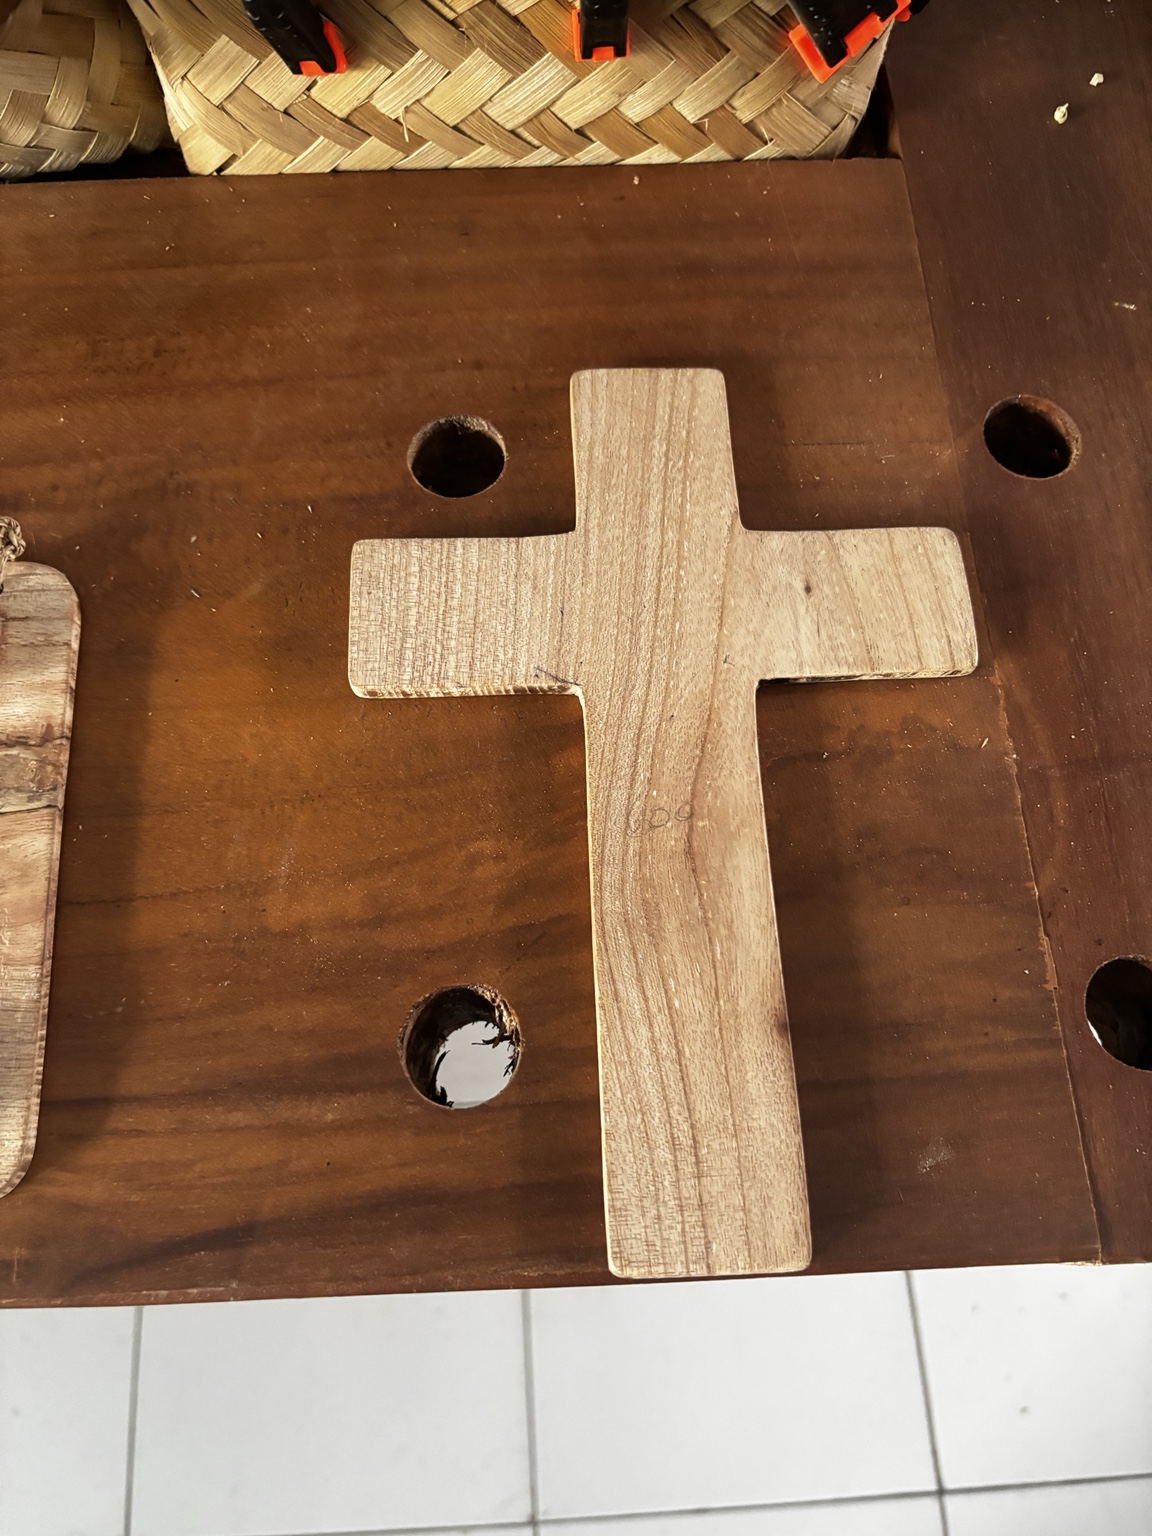
The wooden cross, showing the natural grain of the wood.
Learn together.
Keep improving.
The first children’s session has now taken place. We will keep developing the bench and activities through practical use, observing what works and where beginners need support.
Skilled demonstrations, small groups and close supervision remain central to the workshop.
Workshop pilot · developing through hands-on experience