Projects
For either project, teachers can choose whether children calculate and measure the design themselves or work from a template, depending on what they want the children to learn.
A small wooden name or message sign.
- Check the shape and measurements of the wood.
- Measure and cut four wooden strips to hold the paper in place.
- Use a hand plane and two custom thicknessing jigs, one for each strip size, to make the strips even and level.
- Carefully measure where the strips will sit, then glue and clamp them in place.
- Sand all surfaces smooth using three grades of sandpaper.
- Mark and drill the holes, then tie on a hanging string.
- Seal the wood or decorate the sign with paint.
- Inspect the finished sign together, including how the paper fits and how the sign hangs.
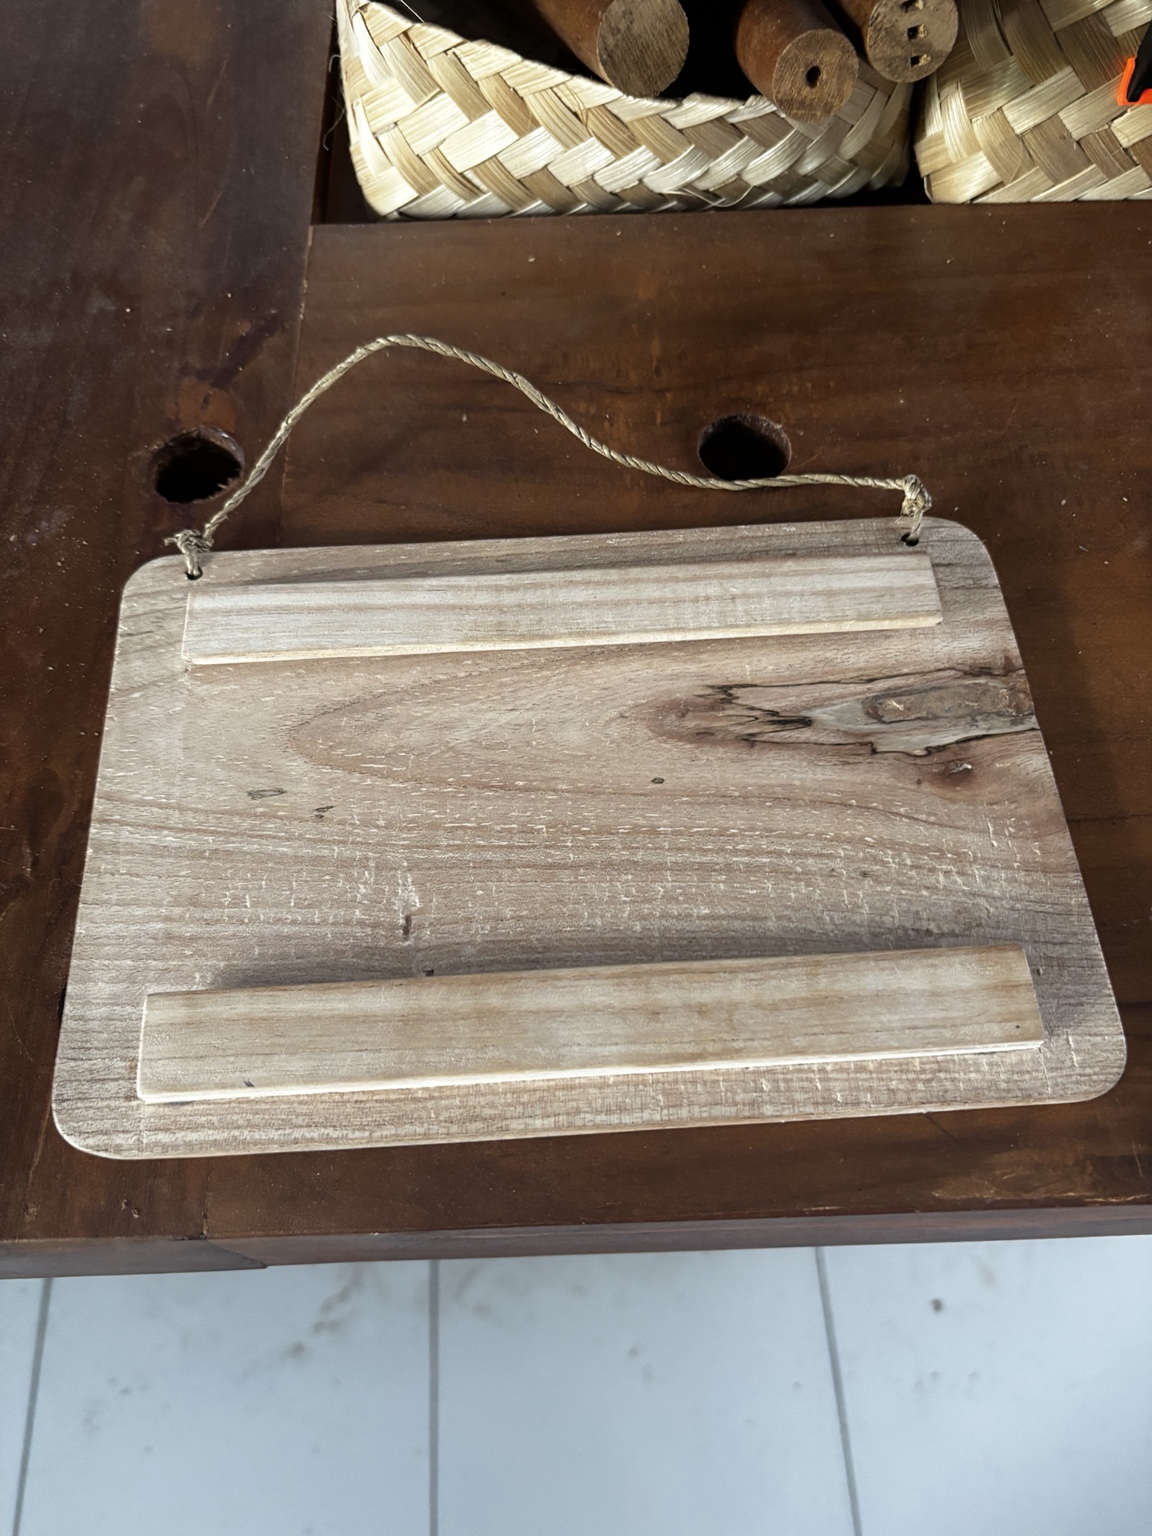
The wooden sign, with hanging string and strips to hold the paper in place.
A small wooden cross.
- Measure and mark the cross on the wood, checking that the lines and angles meet correctly.
- Secure the wood in a built-in vice or against pegs in the bench’s dog holes. Practise using F-clamps and spring clamps with the pegs.
- Choose a suitable saw and make straight cuts that meet at the marked corners.
- Compare the holding methods for different cuts and saws. Testing helped us find a solution to keep thin wood stable during sawing. Where needed, use pegs and clamps for additional support. An adult checks that the workpiece is stable before each cut, so the child’s free hand can stay away from the saw.
- Carefully remove the unwanted sections to reveal the cross.
- Straighten uneven edges with 80-grit sandpaper. Once the shape is right, smooth all surfaces and edges with three grades of sandpaper.
- Fix a hanging hook or Velcro strips to the back, then seal the wood or decorate it with paint.
- Inspect the finished cross together.
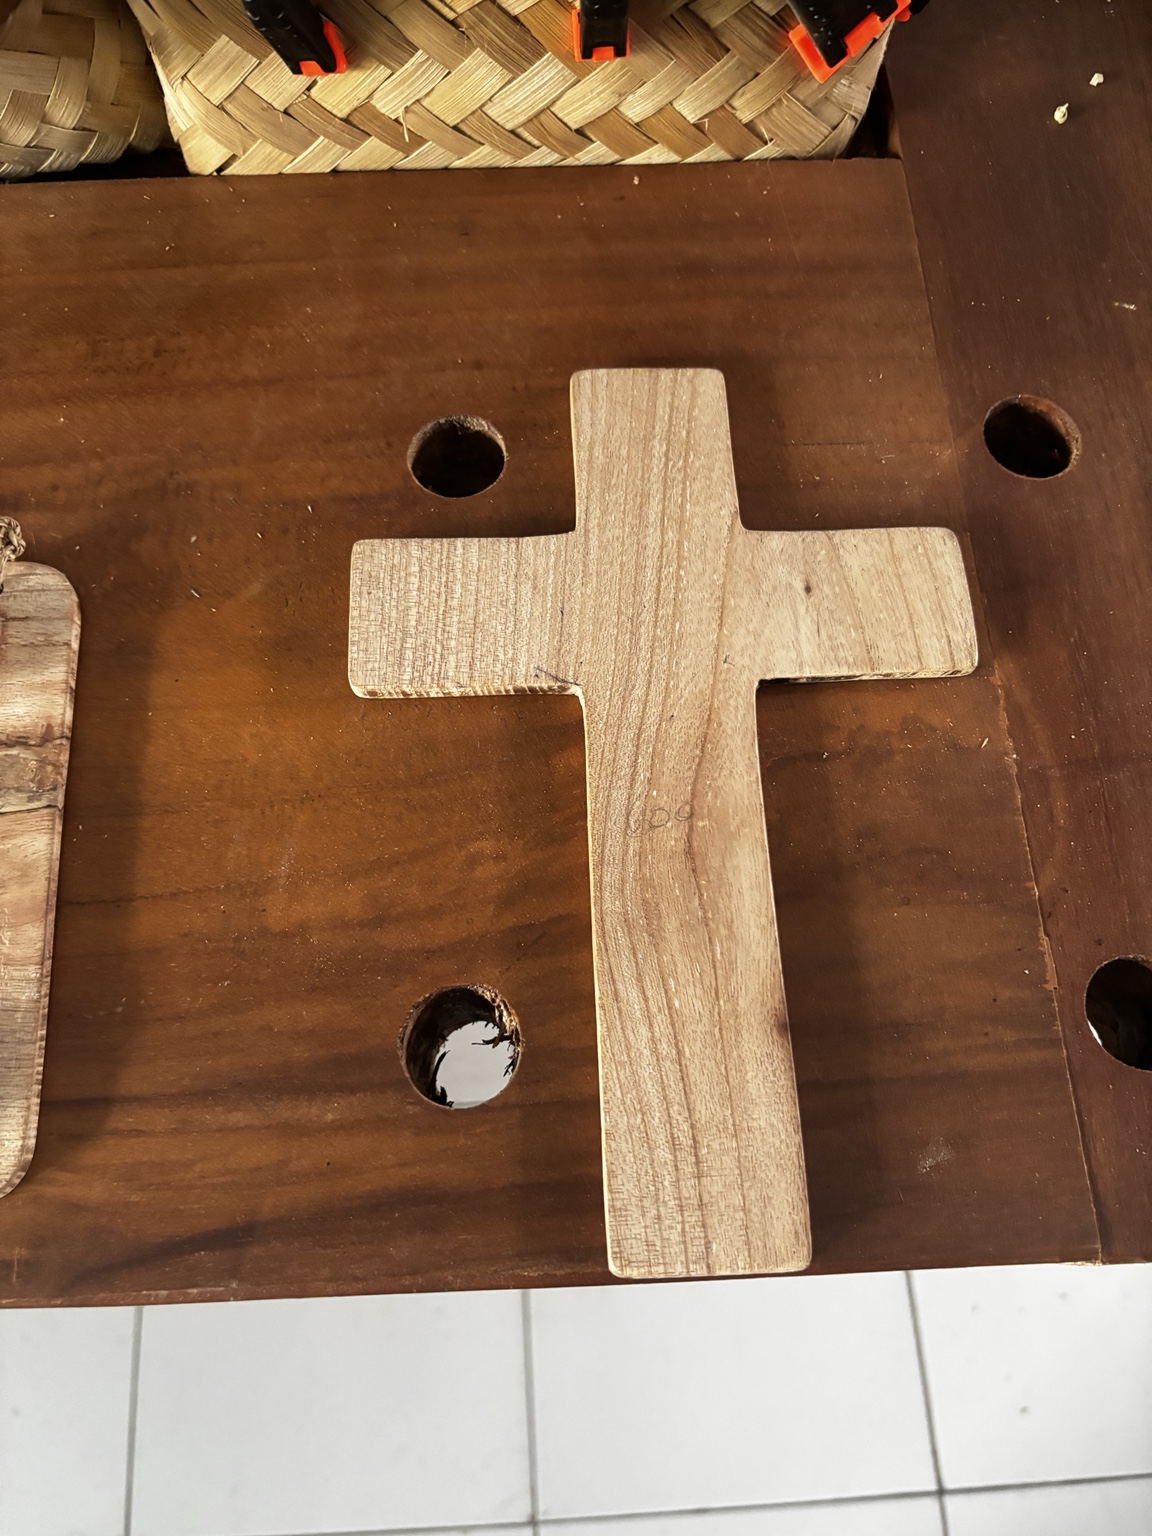
The wooden cross, showing the natural grain of the wood.